
This lesson is made with PSPX9
But is good with other versions.
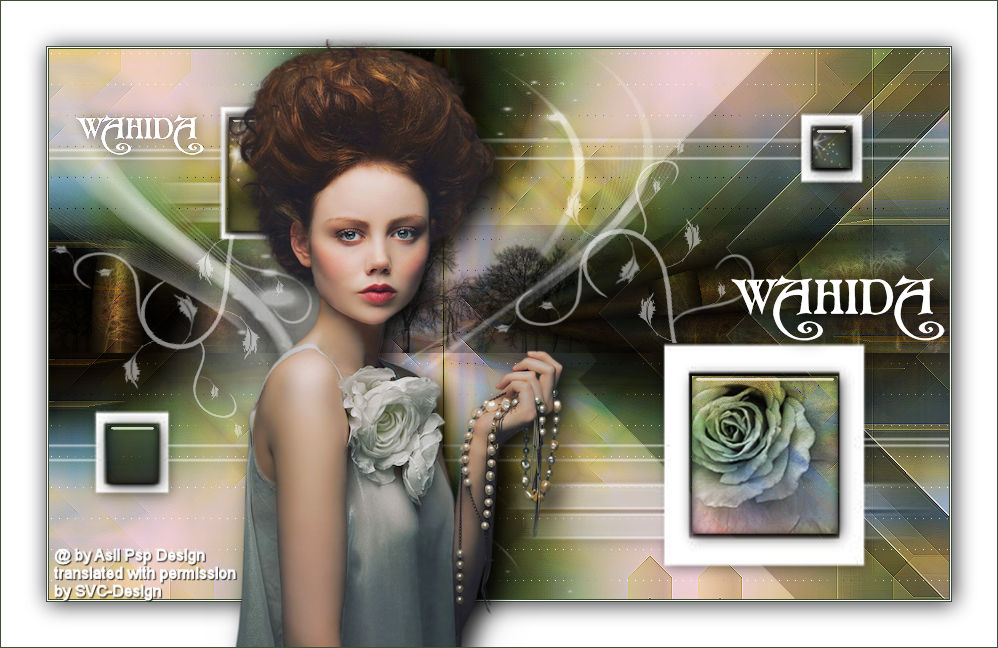
© by SvC-Design
Materialen Download :
Here
******************************************************************
Materials:
trees_gretchen.jpg
Hüzünlü Yıllar Wahıda Deko 1.png
Hüzünlü Yıllar Wahıda Deko 2.png
Sah Wahıda Gradient.grd
4c80a6f6910a6f8a754366011390d092--masks.jpg
Narah_mask_Abstract129.jpg
Sah Wahıda Sel -1.PspSelection
Sah Wahıda Sel -2.PspSelection
Sah Wahıda Text.png
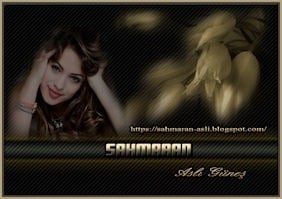
Mary 0812-33.pspimage
pink-glitter-butterfly.jpg
******************************************************************
Plugin:
Plugin - Mehdi - Sorting Tiles
Plugin - Toadies - What Are You?
Plugin - It@lian Editors Effect- Efetto Fantasma
Plugin - Len K landksiteofwonders - L en K 's Zitah
Plugin - Alien Skin Eye Candy 5: Impact - Glass
Plugin - Filters Unlimited 2.0 - VM Instant Art - Pipeline To Siberia
Plugin - Alien Skin Eye Candy 5:Impact -Perspective Shadow
******************************************************************
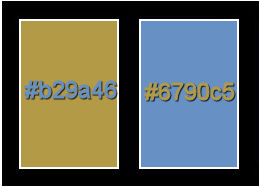
color palette
:
******************************************************************
methode
When using other tubes and colors, the mixing mode and / or layer coverage may differ
******************************************************************
General Preparations:
First install your filters for your PSP!
Masks: Save to your mask folder in PSP, unless noted otherwise
Texture & Pattern: Save to your Texture Folder in PSP
Selections: Save to your folder Selections in PSP
Open your tubes in PSP
******************************************************************
We will start - Have fun!
Remember to save your work on a regular basis
******************************************************************
Foreground color to #b29a46
Background color to #6790c5
1.
Open a new transparent image of 900x550 pixels
Make a radiaal gardient
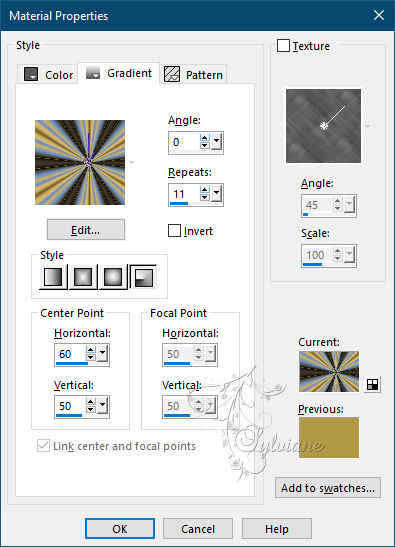
Fill With Your Gradient
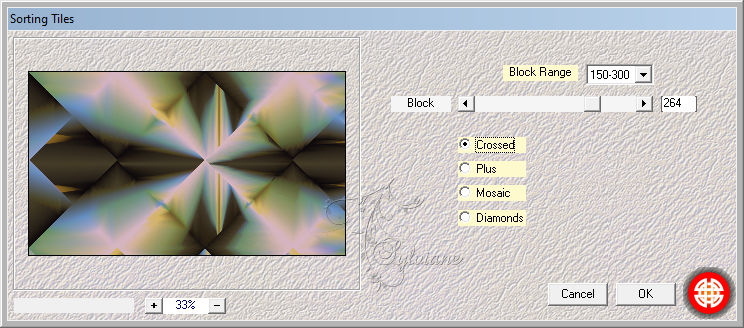
Plugin - Mehdi - Sorting Tiles
Layers - Duplicate
Plugin - Toadies - What Are You?

Effects - Edge Effects - Enhance
Image- Mirror - Mirror Horizontal
2.
Activate Raster 1
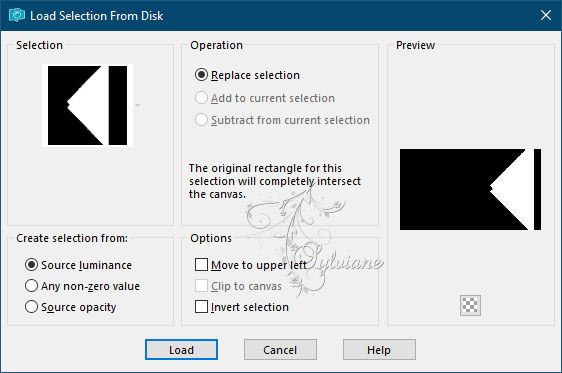
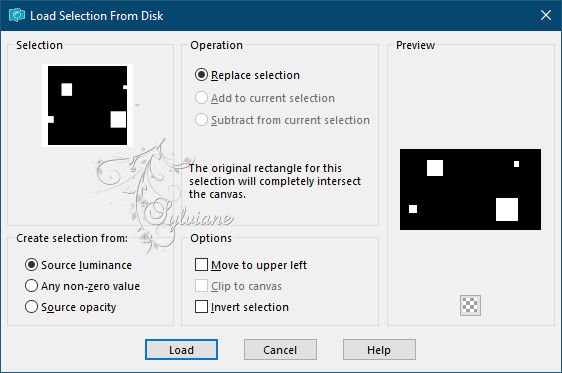
Selections - Load / Save - Load selection from disk- Sah Wahıda Sel -1.PspSelection
Selections – Promote selections to layer
Selections- Select None
Background color to #0c070a
Note:(You can adjust it according to the main color in your work)
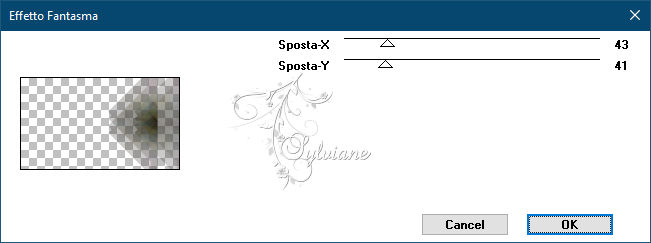
Plugin - It@lian Editors Effect- Efetto Fantasma
Layers - Arrange - Bring to Top
Effects - Edge Effects- Enchance
Adjust -Sharpness- Sharpen
Layers - Merge - Merge Visible
3.
Layers - Duplicate
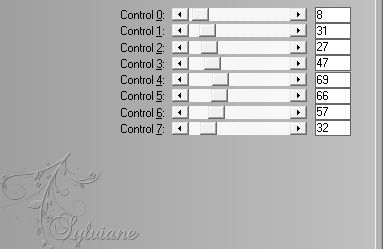
Plugin - Len K landksiteofwonders - L en K 's Zitah
Blend Mode to : Overlay
4.
Layers - New Raster Layer
Flood Fill color to White #ffffff
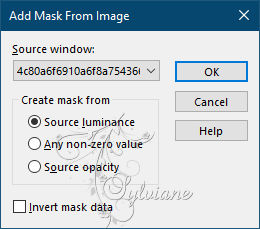
Open - Mask (4c80a6f6910a6f8a754366011390d092--masks)
Layers - New Mask Layer - From Image - 4c80a6f6910a6f8a754366011390d092--masks.jpg
Layers - Merge - Merge Group
Effects - 3D Effects - Drop Shadow
2/2/50/20 color:#000000
5.
Layers - New Raster Layer
Selections - Load / Save - Load selection from disk- Sah Wahıda Sel -2.PspSelection
Open pink-glitter-butterfly.jpg
Edit - Copy
activate your work
Edit - Paste - Paste in to selection
Blend Mode to : Luminance
Effects -3D Effects - Drop Shadow
2-2-50-20- color #000000
Plugin - Alien Skin Eye Candy 5: Impact - Glass ( Clear)
Selections - Select None
6.
Layers - New Raster Layer
Open - Brush -trees gretchen
Save it as a brush
Set as the picture color to #ffffff

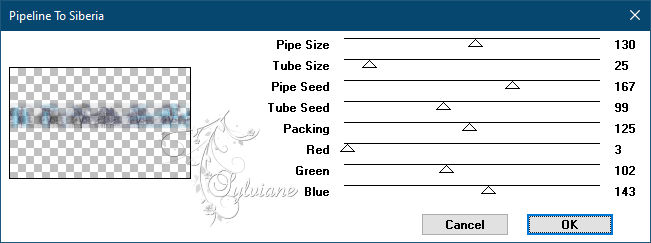
Plugin - Filters Unlimited 2.0 - VM Instant Art - Pipeline To Siberia
Blend Mode to: Luminance
Layers - Arrange - Move Down (Do it 2 times)
7.
Activate top layer
Layers - New Raster Layer
Flood Fill color to #ffffff
Open - Narah - Mask - Abstrack 129
Layers - New Mask Layer - From Image - Narah_mask_Abstract129.jpg
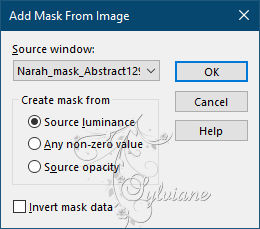
Layers - Merge - Merge Group
Opacity: 69
Image - Mirror- Mirror Horizontal
8.
Open Hüzünlü Yıllar Wahıda Deko 1.png
Edit - Copy
activate your work
Edit - Paste - Paste As New Layer
Activate selection tool (Press K on your keyboard)
And enter the following parameters:
Pos X :2 – Pos Y : 186
Press M.
Adjust - Sharpnes – Sharpen
Open Hüzünlü Yıllar Wahıda Deko 2.png
Edit - Copy
activate your work
Edit - Paste - Paste As New Layer
Activate selection tool (Press K on your keyboard)
And enter the following parameters:
Pos X : 444 – Pos Y : 89
Press M.
Adjust - Sharpnes - Sharpen
9.
Open Sah Wahıda Text.png
Edit - Copy
activate your work
Edit - Paste - Paste As New Layer
Activate selection tool (Press K on your keyboard)
And enter the following parameters:
Pos X :682 – Pos Y : 226
Press M.
Layers - Duplicate
Image - Resize

Activate selection tool (Press K on your keyboard)
And enter the following parameters:
Pos X : 27 – Pos Y : 66
Press M.
Layers - Merge - Merge Down
Effects - 3D Effects - Drop Shadow
2-2-50-20- color #000000
Adjust - Sharpnes - Sharpen
10.
Image - Add Borders - Symmetric. 1 pixel, color #3c4f36
Image - Add Borders - Symmetric. 1 pixel, color #ffffff
Image - Add Borders - Symmetric. 1 pixel, color #3c4f36
Selections- Select All
Image - Add Borders - Symmetric.45pixel, color #ffffff
Effects - 3D Effects - Drop Shadow
2/2/82/32,67 color:#000000
Selections - Select None
11...
Open Mary 0812-33.pspimage
Edit - Copy
activate your work
Edit - Paste - Paste As New Layer
Image - Resize

Activate selection tool (Press K on your keyboard)
And enter the following parameters:
Pos X :223 – Pos Y : 38
Press M.
Adjust - Sharpnes - Sharpen
Plugin - Alien Skin Eye Candy 5:Impact -Perspective Shadow
(Drop Shadow, Blurry)
Image - Add Borders - Symmetric. 1 pixel, color #3c4f36
Put Your Watermarkt
Image - Resize 900 Pixels
Save JPEG
Back
Copyright Translation © 2021 by SvC-Design